
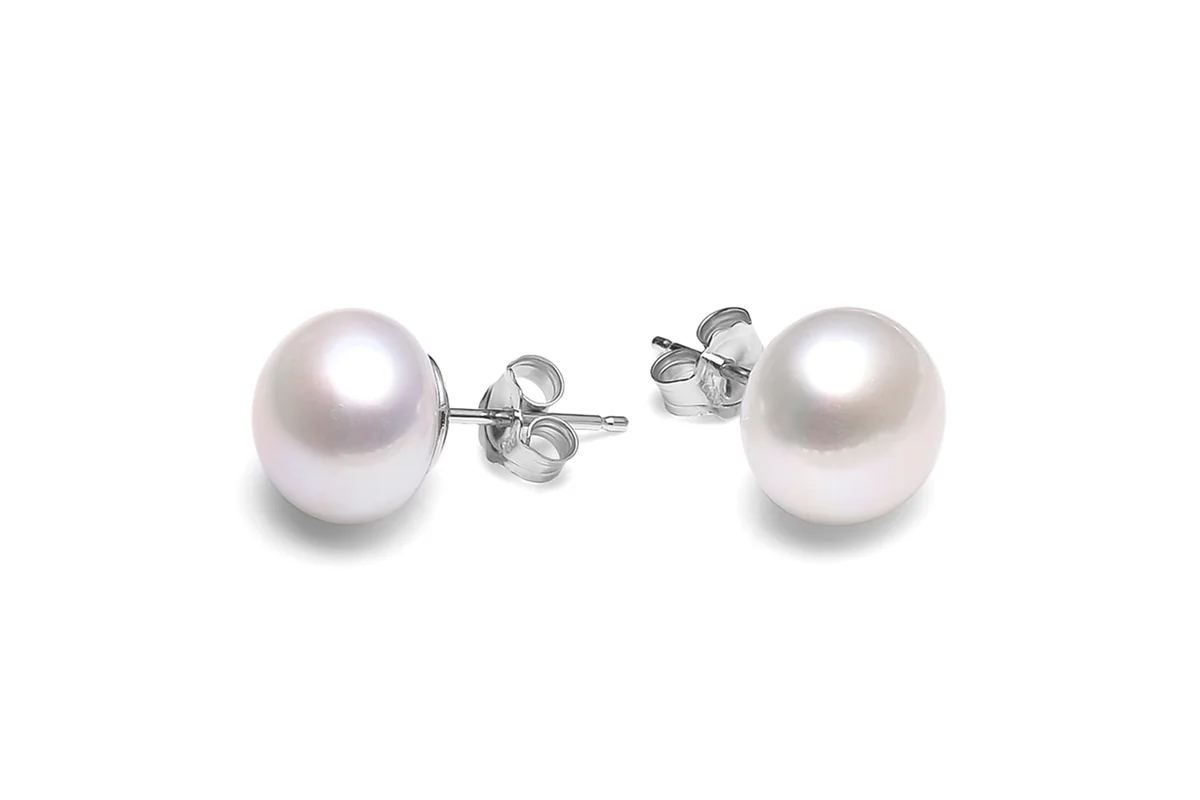
Start with the way your pearl connects to the jewelry. Choose the format that accommodates the attachment and supports the intended appearance. The jewelry category alone does not decide the answer: two pearl earrings can use different attachment systems.
The useful question is therefore more specific than “Which drilling is better?” Ask where the connection belongs, which surfaces will remain visible, and what the finished piece should do when worn. Those decisions lead to a drilling specification that a maker can check.
What Half-Drilled and Full-Drilled Mean
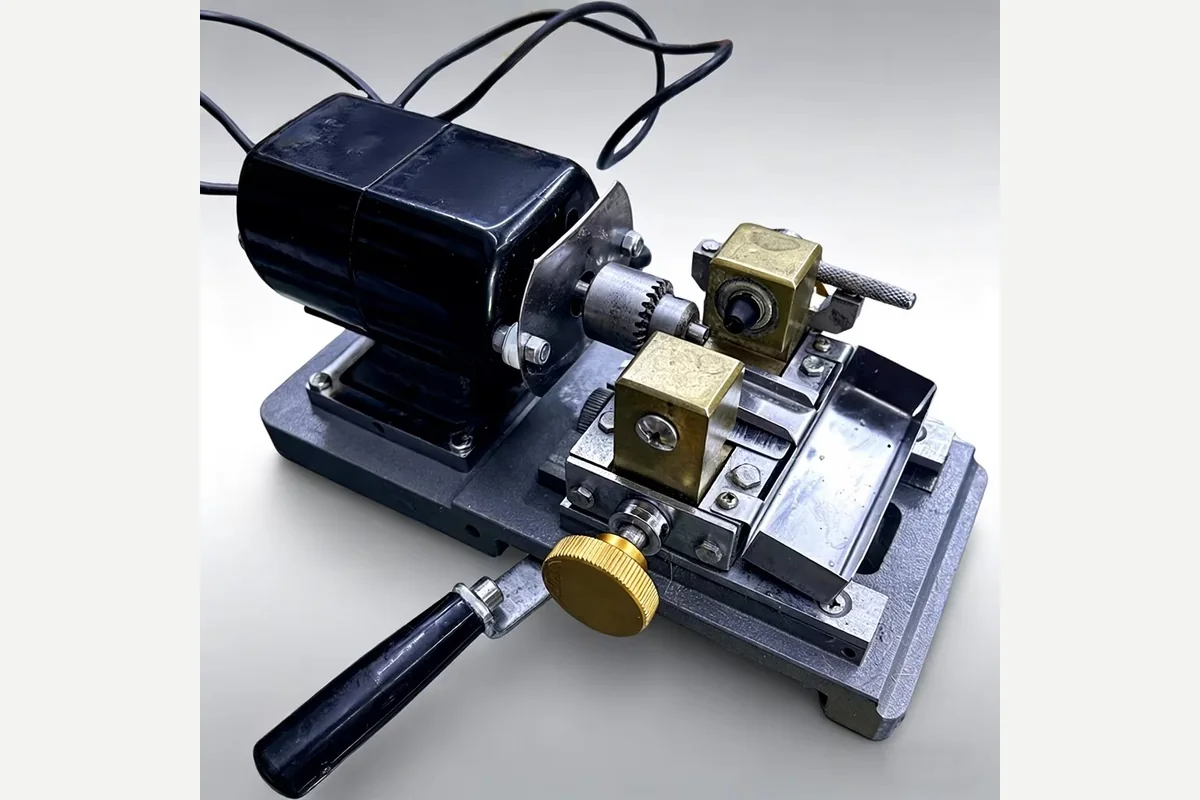
A full-drilled pearl has a hole running through it, with an opening at each end. A half-drilled, or part-drilled, pearl has an opening that ends inside it. CIBJO defines these terms by whether the hole exits; it does not give “half-drilled” a universal numerical depth. Request the actual depth needed for the setting. See the CIBJO Pearl Blue Book, sections 5.64 and 5.151.
An undrilled pearl has no drilled hole. It can leave the attachment position open while the design is being developed. The maker still needs to establish how the pearl will be held.
Why the Attachment Should Come First
A photograph of the front of a pearl stud may tell you little about its construction. Ask for a side or sectional drawing showing the pearl and its connection. For a necklace, draw the route of the stringing material through the entire piece, including the ends.
This separates two different requirements: something must pass through a hole, or something must fit inside it. A suitable passage does not automatically make a suitable peg connection. Conversely, a pearl selected for a particular setting is not necessarily ready for a strand.
Compare the Three Starting Options
| Pearl preparation | A useful design starting point | What to establish before assembly |
|---|---|---|
| Half-drilled | A stud or drop designed around a compatible pearl peg | Hole depth and diameter, peg dimensions, seating, and visible face |
| Full-drilled | A strand or a design with a pin or other element passing through the pearl | The complete passage, entry and exit positions, and how both ends appear |
| Undrilled | A design whose attachment position is still being developed | The proposed connection and whether the selected pearl can accommodate it |
Peg settings are used for more than studs. Fire Mountain Gems' own peg-setting range includes components intended for half-drilled pearls in several jewelry forms. Use the chosen component's specifications, rather than assuming every earring or pendant needs the same preparation.
Match Hole Size to the Actual Assembly
For a through-hole design, identify everything that must travel through the pearl. A drawing should show the stringing route and any return pass used in finishing. Rio Grande's pearl-knotting instructions illustrate why the cord and hole have to be considered together, including the passages required near the clasp.
For a peg setting, request both peg diameter and usable peg length. Ask the maker to confirm the corresponding hole specification and seating arrangement. Hole diameter alone cannot tell you whether the pearl will sit at the intended height.
Record dimensions in millimeters. Do not select a universal hole size from an unrelated product listing, and do not assume a larger hole solves every fit problem. The sample should represent the actual combination of pearl, attachment, and assembly method.
Plan the Viewing Direction Before Drilling
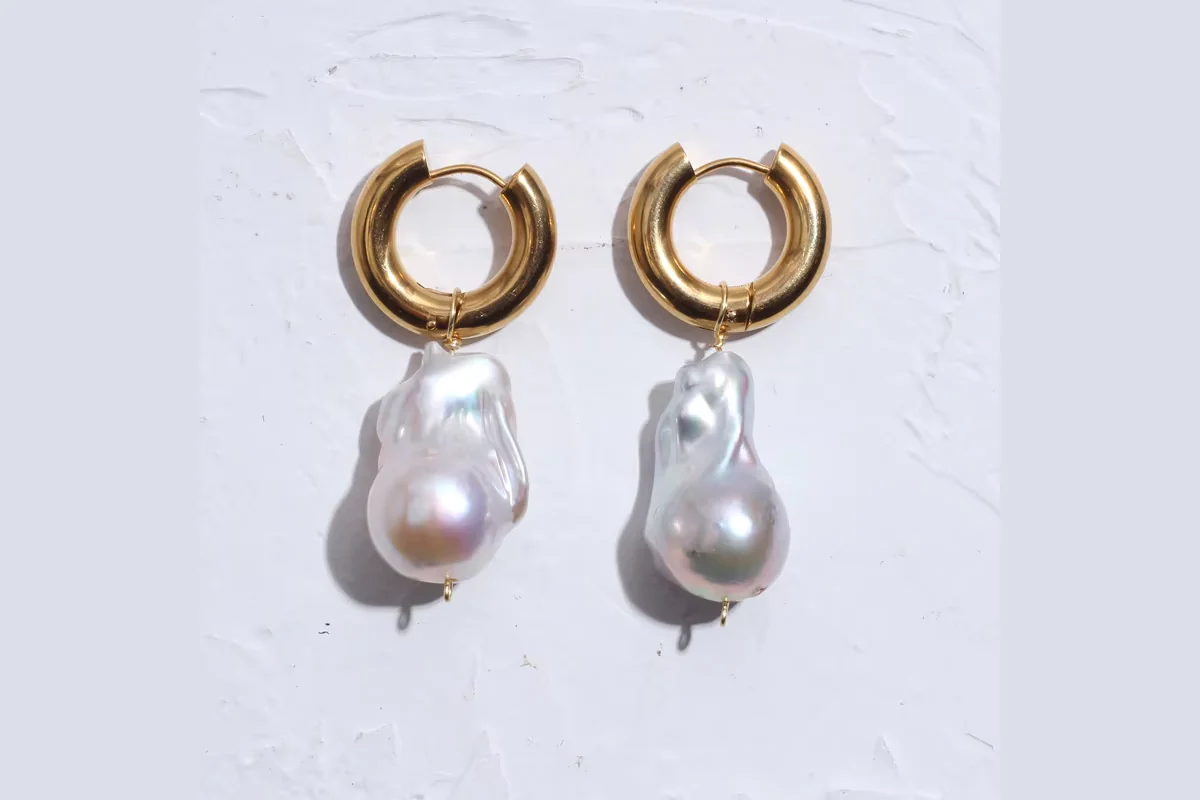
An irregular pearl may have a broad face, a narrow profile, and a curved tip. Mark the intended front on a photograph and add an arrow showing the top of the finished piece. A second view helps explain where the attachment should sit.
Consider a hypothetical pair of baroque drops. Both pearls look balanced when laid flat, but their broad faces point in different directions when suspended from the proposed attachment points. The next sample request should identify the desired hanging orientation, rather than simply asking for “more matching pearls.”
For that example, annotate three things: the face the wearer should see, the point from which each pearl hangs, and the overall length of each finished earring. The maker can then assess a feasible arrangement. A photograph communicates the intention; the assembled sample demonstrates the result.
Write a Brief That Can Be Checked
Use one record for the pearl and the component together. Separate confirmed requirements from dimensions the maker still needs to propose.
| Brief field | Information to provide | Evidence to request |
|---|---|---|
| Pearl and shape | Reference image, intended dimensions, preferred display face | Identified sample photographs from the relevant views |
| Attachment | Component reference or a clear structural sketch | Component drawing and proposed fit |
| Hole specification | Required format; agreed diameter and depth where relevant | Measured dimensions or the maker's dimensional record |
| Orientation | Marked top, front, and entry or exit positions | Assembled front, side, and rear views |
| Finished behavior | Intended position, movement, and overall dimensions | Physical sample review and agreed functional checks |
Review the finished sample for visible gaps, unwanted rotation, distracting entry or exit positions, and alignment between paired pieces. Ask the maker to investigate cracks, chips, loose seating, or other questionable details instead of approving them from an attractive front view.
A visual review cannot establish connection strength or verify hidden dimensions. If a project requires performance testing, agree on the method, acceptance criteria, and record before production. This guide does not prescribe a force test or a universal tolerance.
Approve a Construction, Not Just a Pearl
Keep the approved component reference, dimensional notes, annotated views, and sample identifier together. If the attachment changes later, ask what must be rechecked before treating the earlier approval as current.
That record turns a broad request for half-drilled or full-drilled pearls into an identifiable jewelry construction. It also makes revisions easier to discuss: the team can locate the changed connection or orientation instead of comparing different photographs without a common reference.
Key Takeaways
- Choose the drilling format from the attachment and stringing route.
- Specify peg fit or through-passage requirements using the actual components.
- Mark the intended display direction before developing an irregular pearl design.
- Approve the assembled sample and retain its component and dimensional records.
Frequently Asked Questions
No. Specify the actual depth your setting requires. A halfway measurement is not part of the CIBJO part-drilled definition.
No. Compatible peg components can also support other designs. Select the attachment first, then confirm the pearl preparation and finished appearance rather than choosing by jewelry category alone.
Request the size suited to the actual component or stringing arrangement. Provide its dimensions and construction drawing, and have the maker confirm fit. Pearl diameter by itself is not enough information.
They can be considered for earrings designed around a through-pin or similar construction. Review how the connection appears at both ends and approve the complete sample before using that approach for a collection.
For a finished jewelry project, first ask the maker to review your proposed attachment. An undrilled starting point leaves choices open, but the selected pearl still needs a feasible construction. Do not assume drilling can be finalized without that review.
Related Resources
- Custom Pearl Earrings — explore finished earring design directions.
- Baroque Pearl Jewelry — consider irregular shapes and paired designs.
- Sample Development — plan a sample around your proposed construction.
Have a sketch with a specific pearl attachment? Send your reference image and component details to LuxoPearl to discuss a finished jewelry sample.
Contact Us