
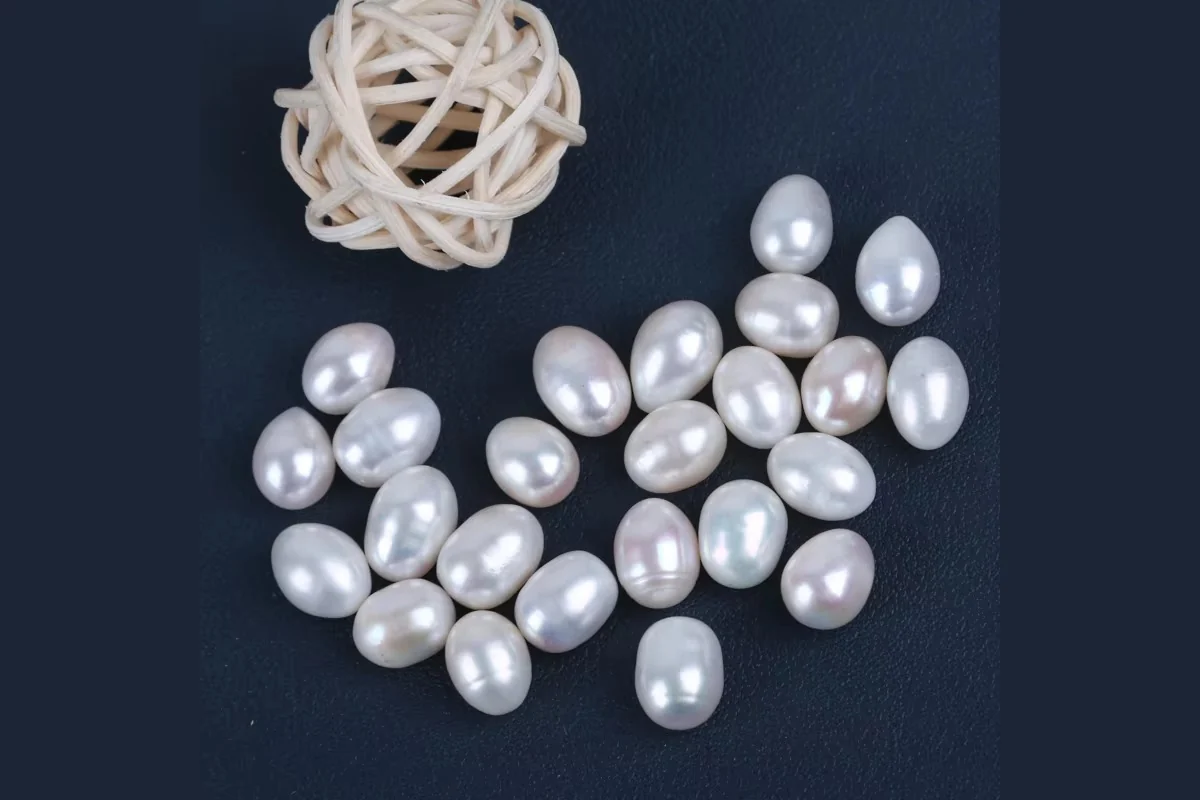
The most useful pearl size is the one that gives your finished piece the proportions you want. For an initial comparison, try 5–6 mm round pearls for a fine line, 7–8 mm for a fuller appearance, and 9–10 mm for a more prominent effect. These are design starting points, not rules about age, gender, or occasion.
A number alone is not enough. An 8 mm pearl does not describe an earring's total length, a necklace's fit, or the length of an irregular pearl. Start with millimeters, then check the entire piece.
What Does a Pearl Size in Millimeters Mean?
For a round pearl, size describes its diameter. CIBJO specifies the widest diameter for an undrilled round pearl and the widest diameter perpendicular to the hole for a drilled one. Fancy shapes require additional dimensions, including maximum length and minimum and maximum diameters. Measurements are expressed in millimeters. See CIBJO's measurement guidance, section 4.1.6.
In a design conversation, ask which dimension a quoted size describes. If someone offers a “12 mm baroque pearl,” do they mean its length or its width? Request labeled measurements and a view showing the intended orientation. Add thickness when the profile matters to the design.
An “8–9 mm” description is a range, not a promise that every pearl measures exactly 8.5 mm. Agree what the range covers before comparing samples.
Why a Small Size Change Can Look Significant
A change from 6 mm to 8 mm adds only 2 mm across, but it increases the diameter by one-third. If you represent both pearls as flat circles, the 8 mm circle has about 78% more area: 8² ÷ 6² ≈ 1.78. That calculation explains why a small numerical change can produce an obvious visual difference.
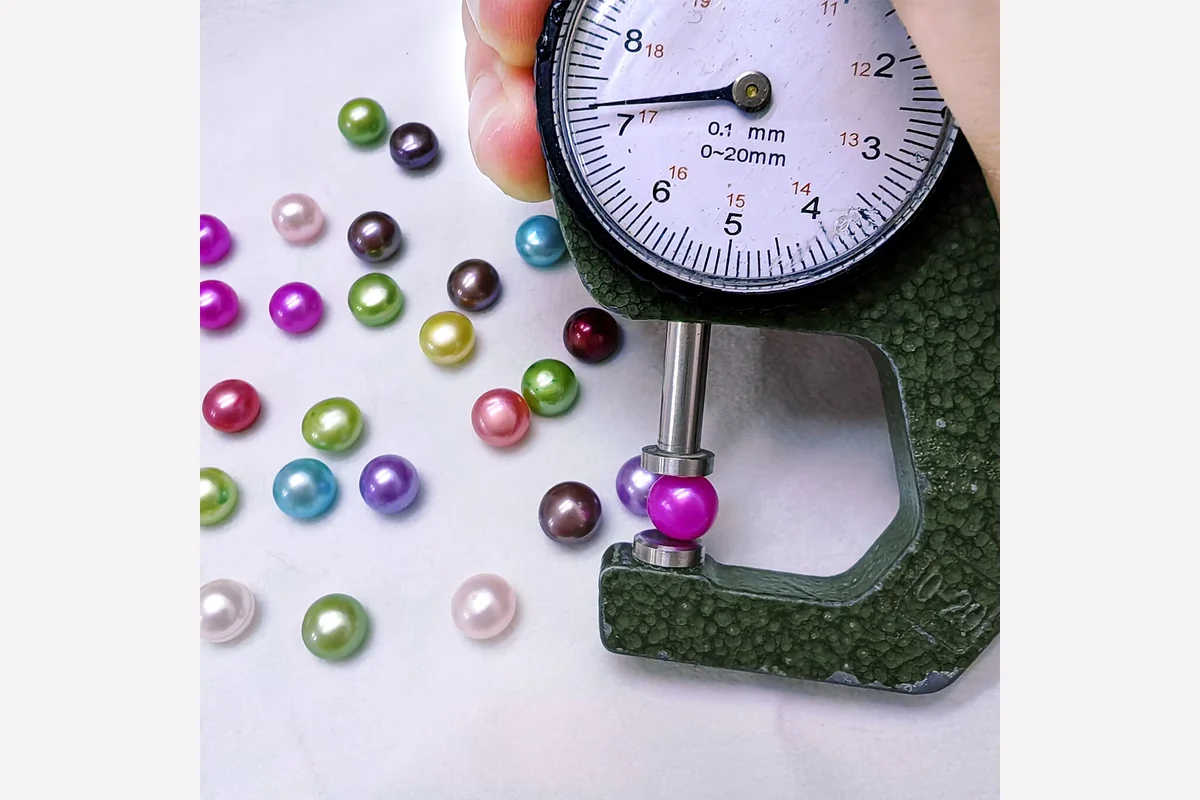
This is a simplified geometry example, not a prediction of apparent size on every wearer. The setting, spacing, pearl outline, and surrounding elements also affect the composition. A single pearl against open space can attract more attention than the same pearl among several similar elements.
When deciding between nearby sizes, compare them in the same design. Changing both the size and the layout makes it harder to identify what improved the result.
A Practical Pearl Size Chart for Design Comparisons
Use this chart to choose samples to compare. The examples assume round or near-round pearls; they are not a product inventory or a universal sizing standard.
| Pearl diameter | Starting point to explore | Compare before choosing |
|---|---|---|
| 3–4 mm | A fine strand or small repeated accents | Whether individual pearls remain visible in the full composition |
| 5–6 mm | A restrained strand, bracelet, or compact earring | Whether the result looks too fine or provides the desired detail |
| 7–8 mm | A fuller strand or more visible single pearl | Balance with the complete earring, neckline, or wrist arrangement |
| 9–10 mm | A prominent single pearl or substantial strand | Profile, spacing, and the feel of the assembled sample |
| 11–12 mm and above | A focal pearl or deliberately bold composition | Overall dimensions, practical fit, and how adjacent elements sit |
Choose two nearby alternatives before requesting many sizes. For example, comparing 6 mm and 8 mm in one earring layout gives a clearer decision than reviewing an unorganized tray of pearls. If neither works, the result still tells you which direction to explore.
Choose Proportions for Each Jewelry Type
For a necklace, specify pearl diameter and finished length separately. A 45 cm necklace made with 4 mm pearls and one made with 10 mm pearls share a nominal length but have very different profiles. Review the piece at its intended length, with its closure included, and check the arrangement around any focal element.
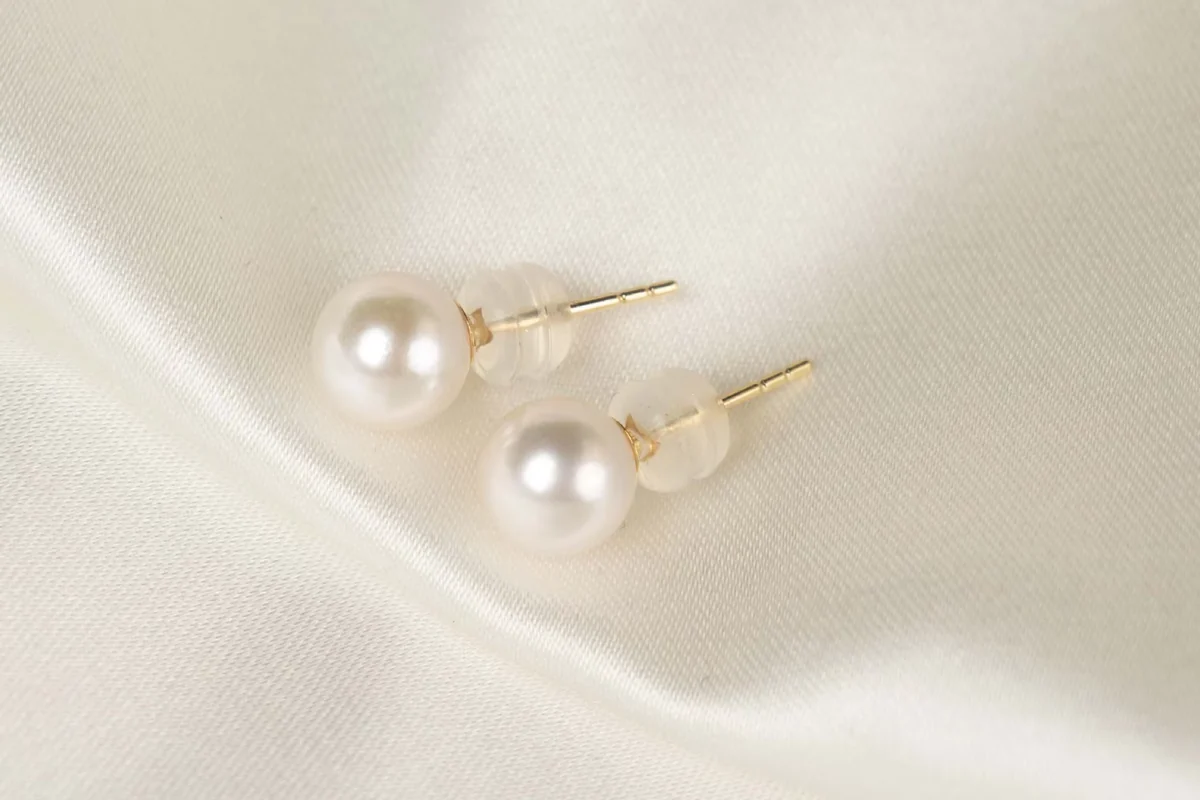
For earrings, distinguish pearl size from overall drop. A pearl that is 10 mm long does not make the complete earring 10 mm long. The attachment and connecting elements contribute to the result. With a stud, look at how far the complete piece projects as well as its front view. With a drop, compare the total silhouette of the pair.
For bracelets, check fit with the assembled sample. A flat end-to-end measurement does not fully describe the space available inside a curved bracelet. Pearl profile, spacing, and the closure affect how the design sits. Record the measurement method alongside the requested length.
Estimate Strand Count Without Confusing It With Finished Length
Here is a hypothetical planning example. Suppose a necklace has a target end-to-end length of 450 mm. For a first calculation, reserve 30 mm in total for the closure, connections, and knots. That leaves 420 mm as the estimated pearl contribution.
At an assumed average diameter of 7 mm, 420 ÷ 7 gives about 60 pearls. At 8 mm, the same simplified calculation gives 52.5, or roughly 52–53 pearls. A design cannot contain half a pearl, so its final arrangement must be resolved in the sample.
The 30 mm allowance is invented for this example. It is not a standard allowance. Knotting changes with pearl count, and real dimensions and connections must be checked. For irregular pearls, use their contribution along the stringing direction rather than automatically substituting their maximum width.
Treat the result as a sketching estimate. Confirm the actual pearl count and finished length together.
Check Size on a Sample, Not Just a Screen
A size chart on a phone is not automatically life-size. Browser zoom, display settings, and image resizing can change its physical dimensions. Even a printed chart needs a labeled reference line that you can check with a ruler.
For an initial paper comparison, draw circles with measured diameters and place them within a sketch of the complete piece. This helps compare front-view scale, but it cannot reproduce depth, movement, or fit.
For final review, examine a physical sample. Record pearl measurements, finished dimensions, and the view in which an irregular pearl is intended to face. Photograph alternatives together at the same distance with a ruler in the frame. Keep the sample identifiers visible so that a later discussion refers to the correct option.
Turn Your Preferred Size Into a Clear Brief
Replace “medium pearls” with a measurable starting request. For example: “Please compare round pearls around 6 mm and 8 mm in this earring layout. Keep the overall drop the same in both versions and provide the finished dimensions.” This is a hypothetical brief, not a ready-made product specification.
After reviewing the samples, record the selected size range, measurement directions, and finished dimensions. That gives the design a clearer reference than a preferred photograph alone.
Key Takeaways
- Separate pearl dimensions from the length and dimensions of the finished jewelry.
- Compare adjacent sizes within the same layout before changing several design elements.
- Record more than one dimension and the intended orientation for irregular pearls.
- Use charts and calculations to shortlist options, then confirm the assembled sample.
Frequently Asked Questions
If you want a restrained appearance, start by comparing 5–6 mm and 7–8 mm pearls in the same earring design. Choose by the finished proportions and how the sample feels, rather than treating one diameter as suitable for everyone.
It depends on the comparison and the piece. It is visibly wider than a 6 mm pearl but smaller than a 10 mm pearl. Review all three in a consistent layout to decide how prominent you want the pearl to be.
Use millimeters for individual pearls. Centimeters are convenient for a necklace or bracelet's finished length. Label both measurements clearly: for example, pearl diameter in mm and end-to-end necklace length in cm.
Yes. Two outlines can share a length while having different widths and profiles. Compare labeled dimensions and views from the same orientation, especially when choosing a pair.
You can estimate it, but pearl dimensions alone are insufficient. Allow for the actual closure, connections, knots, spacing, and arrangement. Confirm the final count from the assembled design.
Related Resources
Explore custom pearl necklaces, custom pearl earrings, and custom pearl bracelets to consider different finished formats. Our sample development page explains the next step for a custom design.
Send LuxoPearl your design reference with the pearl sizes you want to compare and your intended finished dimensions.
Contact Us